
A new coat of paint may completely transform your garage, bringing its practicality and aesthetic appeal to a whole new level. It is essential to have a solid understanding of the most effective method for painting your garage, whether your objective is to produce a spotless workstation or improve its overall appeal.
The purpose of this article is to provide you with expert advice and procedures that will assist you in achieving professional results. These include the selection of the appropriate paint and application methods, as well as the required preparation.
By adhering to these instructions, you will be able to transform your garage into an area that is presentable, well-organized, and aesthetically pleasing, which will complement your home.
What Is The Best Way To Paint A Garage?
Painting a garage requires careful preparation and execution to ensure a professional-looking finish. Here’s a step-by-step guide to help you achieve the best results:
Preparation
- Clear out the garage space as much as possible. Remove any vehicles, tools, and other items to create an open working area.
- Clean the walls thoroughly to remove dust, dirt, and grease. Use a mild detergent solution and a scrub brush, followed by rinsing with clean water.
- Repair any cracks, holes, or imperfections in the walls with a spackling compound. Sand the patched areas smooth once they’re dry.
- If the walls have previously been painted with a glossy finish, lightly sand them to create a rough surface for better paint adhesion.
- Protect the floor and any fixtures you don’t want to paint with drop cloths or plastic sheeting.
Priming
- Apply a coat of primer to the walls to ensure proper adhesion and uniform coverage of the topcoat. Choose a primer specifically formulated for use on garage walls.
- Use a paint roller with a medium nap for smooth surfaces or a thicker nap for textured walls to apply the primer evenly.
- Allow the primer to dry completely according to the manufacturer’s instructions before proceeding to the next step.
Painting
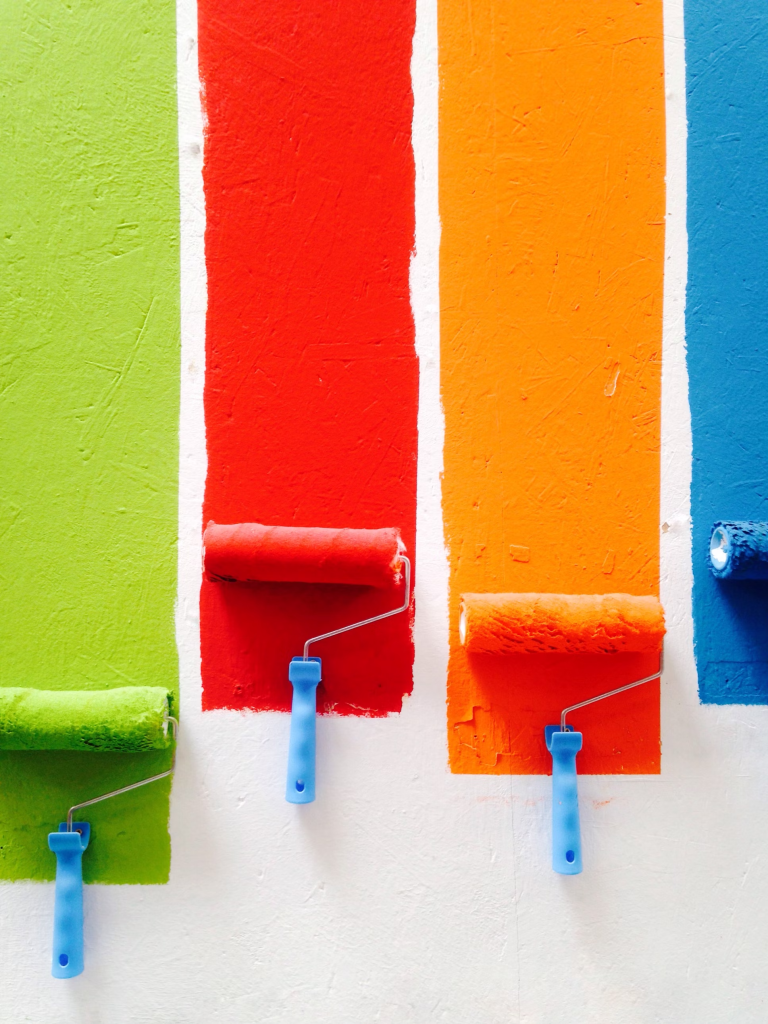
- Select a high-quality paint suitable for garage walls. Consider factors such as durability, ease of cleaning, and resistance to moisture and stains.
- Stir the paint thoroughly to ensure proper consistency and colour uniformity.
- Start painting from the top of the wall and work your way down in small sections, using a paint roller for larger areas and a brush for edges and corners.
- Apply the paint evenly in thin, overlapping coats to achieve a smooth finish. Avoid overloading the roller or brush with paint to minimize drips and streaks.
- Allow the first coat to dry completely before applying a second coat if necessary. Most garage paints require at least two coats for optimal coverage and durability.
Finishing Touches
- Once the final coat of paint has dried, inspect the walls for any missed spots or imperfections. Touch up as needed with additional paint.
- Remove any painter’s tape carefully to avoid peeling off the paint.
- Clean up any paint spills or drips immediately with a damp cloth.
- Allow the paint to cure fully before moving items back into the garage or subjecting them to heavy use. This typically takes several days to a week, depending on the paint product and environmental conditions.
By following these steps and using the right materials and techniques, you can paint your garage like a pro and enjoy a fresh, clean space that enhances both its appearance and functionality.
How Do I Prepare My Garage For Painting?
Preparing your garage for painting is essential to ensure a smooth and durable finish. Here are the steps to prepare your garage:
Clear Out the Garage: Remove all items from the garage, including vehicles, tools, storage boxes, and any other belongings. This will provide you with ample space to work and prevent accidental paint splatters on your belongings.
Clean the Walls: Use a broom or vacuum to remove any loose dust, cobwebs, and debris from the walls and ceiling. Then, wash the walls with a mixture of mild detergent and water to remove grease, oil, and other stains. Rinse thoroughly with clean water and allow the walls to dry completely.
- Inspect for Damage: Check the walls for any cracks, holes, or other damage that needs repair. Use spackling compound or patching plaster to fill in any holes or cracks, and smooth the surface with sandpaper once the filler is dry. Repairing these imperfections will ensure a smooth and even paint application.
- Sand Glossy Surfaces: If the walls have a glossy finish or are previously painted with oil-based paint, lightly sand them with fine-grit sandpaper to create a rough surface. This will help the new paint adhere better to the walls.
- Protect the Floor and Fixtures: Cover the floor with drop cloths or plastic sheeting to protect it from paint splatters and spills. Use painter’s tape to mask off any fixtures, outlets, switches, or trim that you don’t want to paint. Make sure the tape is applied securely to create clean paint lines.
- Ventilate the Area: Ensure proper ventilation in the garage by opening windows and doors or using fans to improve airflow. This will help paint fumes dissipate quickly and create a more comfortable working environment.
- Remove or Cover Light Fixtures: Take down any light fixtures or cover them with plastic bags to protect them from paint splatters. If you’re unable to remove the fixtures, use painter’s tape to cover the edges and protect them from paint.
- Gather Painting Supplies: Gather all the necessary painting supplies, including primer, paint, brushes, rollers, trays, painter’s tape, drop cloths, and sandpaper. Having everything you need on hand will streamline the painting process and prevent interruptions.
By following these steps to prepare your garage for painting, you’ll ensure a clean and smooth surface that allows for optimal paint adhesion and a professional-looking finish.
Conclusion
To guarantee a successful and long-lasting finish, it is essential to prepare your garage before painting. A perfect canvas for your painting project may be achieved by following the processes mentioned earlier, which include decluttering the area, washing the walls, fixing any damage, protecting the floor and fixtures, and collecting the required materials.
Preparing the garage well before painting will not only make the finished product seem better and serve your needs better, but it will also make the painting process go more quickly and easily. You can make great strides towards your goal of making your garage a more presentable and functional part of your house if you put in the time and effort to plan.
To paint your garage successfully, you must first complete the preparation process. You may achieve a polished and expert appearance by carefully washing the walls, clearing away the area, and fixing any damage.
Proper ventilation makes the painting area safe and comfortable, and protecting the floor and fixtures makes sure that only the walls get the paint. In addition, if you gather all the supplies you’ll need in advance, you can focus on getting the job done without distractions.
Doing your garage prep work well shows that you’re dedicated to the project and improves the odds of successful completion. Putting in the time and effort to prepare the area before painting will pay off in the end, whether your goal is to make the room more appealing to you or to increase its worth when you decide to sell it.
In the end, a garage that is well-prepared for painting may be a game-changer, transforming it from a boring utility room into a spotless, organised masterpiece that enhances the overall look of your home.
For more information, visit fleximounts Australia.