
For decades, plastering, a craft that dates back to ancient times, has been an indispensable component in the construction and remodelling industries. Putting a layer of plaster on a surface is not as simple as putting a coat of plaster; rather, it is a laborious procedure that requires expertise, precision, and an understanding of the materials involved.
The article delves into the three essential steps of plastering, illuminating the complexities that lie behind each stage along the way.
To achieve a faultless finish and ensure that your plasterwork will survive for a long time, it is essential to have a solid understanding of these steps, regardless of whether you are an experienced plasterer or a do-it-yourself enthusiast eager to learn. We invite you to join us as we investigate the methods and techniques that lie behind this age-old craft.
What Is Plastering?
The process of plastering involves applying a thin coating of plaster to surfaces, usually walls and ceilings, to cover and smooth them. In construction and remodelling projects, it fulfils the dual functions of being both practical and aesthetically pleasing. Plastering makes a surface flat and even, so it can be wallpapered, painted, or left unfinished for a decorative look.
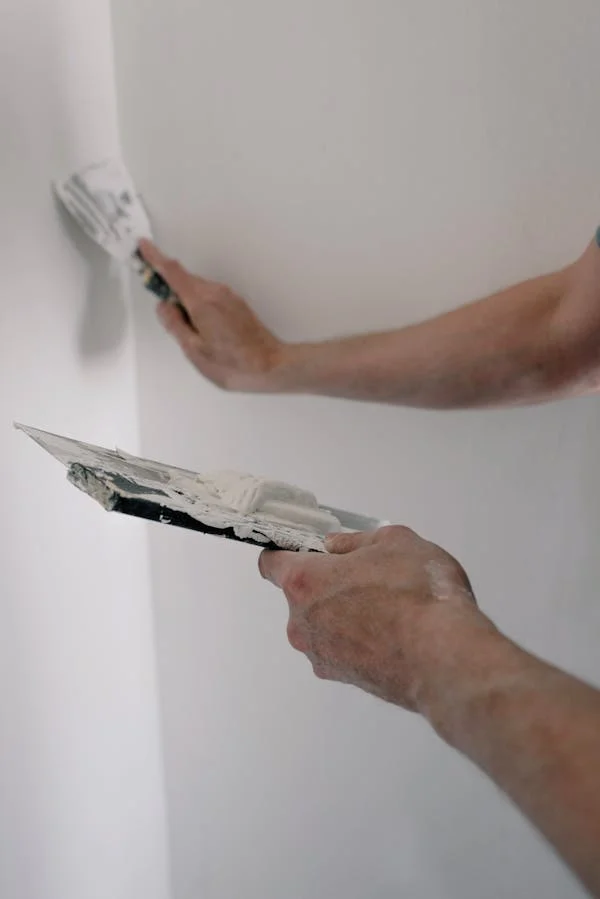
Plastering is laying down layers of plaster on surfaces that have been prepared, levelling and smoothing them with trowels and floats, and then letting them dry and cure. Depending on the needs of the project, plaster can be created from a variety of materials, such as gypsum, lime, or cement.
Repairing damaged walls, covering defects, or creating beautiful finishes are frequent uses for plastering. Because the importance of achieving a perfect outcome in building and remodelling projects, it demands competence and precision.
What Are The 3 Stages Of Plastering?
The three stages of plastering typically include:
Preparation Stage
This initial phase involves preparing the surface to be plastered. It includes tasks such as cleaning the surface of dust, dirt, and loose particles, ensuring it is structurally sound, and applying any necessary bonding agents or primers to promote adhesion between the plaster and the substrate. Proper preparation is essential for achieving a smooth and long-lasting finish.
Application Stage
Once the surface is prepared, the plaster is applied in multiple coats. The first coat, known as the base coat or scratch coat, is applied evenly and allowed to be partially set before scoring or scratching to create a key for the subsequent coats.
The second coat called the skim coat or finishing coat, is applied to achieve the desired smoothness and thickness. Plasterers use various techniques, such as floating and troweling, to ensure an even application and proper curing of the plaster.
Finishing Stage
After the plaster has dried and cured sufficiently, the finishing stage involves refining the surface to achieve the desired texture and appearance. This may include techniques such as sanding, polishing, or texturing to create decorative effects or match existing finishes. Additionally, imperfections or blemishes are addressed during this stage to ensure a flawless final result.
Proper finishing is crucial for enhancing the aesthetics of the plasterwork and achieving client satisfaction.
These three stages are integral to the plastering process, each requiring skill, attention to detail, and adherence to best practices to achieve high-quality results. Mastering these stages is essential for anyone involved in the craft of plastering, whether amateur or professional, to create durable, aesthetically pleasing surfaces that stand the test of time.
What Is The Process Of Plastering?
The process of plastering typically involves several steps, which can vary depending on the specific requirements of the project and the type of plaster being used. Here is a general outline of the plastering process, read more here:
Surface Preparation
- Ensure the surface to be plastered is clean, dry, and free of dust, dirt, grease, and loose particles.
- Repair any cracks, holes, or imperfections in the surface using appropriate patching materials and techniques.
- Apply a bonding agent or primer to promote adhesion between the plaster and the substrate, especially on highly absorbent surfaces.
Mixing Plaster
- Follow manufacturer instructions to mix the plaster material with water to the correct consistency. This may involve using a mixing paddle attached to a power drill or a mixing trough and a hand mixer.
- Mix only as much plaster as can be used within the working time specified by the manufacturer to avoid wastage.
Applying Plaster
- Begin by applying the first coat of plaster, known as the scratch coat or base coat, using a plastering trowel. Apply the plaster evenly over the surface, ensuring adequate coverage.
- Once the scratch coat has been partially set but is still workable, use a scratching tool to create a rough texture or key to promote adhesion of the subsequent coats.
- Apply additional coats of plaster as needed, typically a second coat called the skim coat or finishing coat, to achieve the desired thickness and smoothness. Work quickly and efficiently to avoid drying out of the plaster between coats.
- Use various plastering techniques, such as floating, feathering, and troweling, to achieve a smooth and even surface.
Finishing
- Once the plaster has dried and cured sufficiently, refine the surface to achieve the desired texture and appearance.
- Use sandpaper, a plaster float, or a damp sponge to smooth out any imperfections, ridges, or rough spots.
- Apply any decorative finishes or textures as desired, such as stippling, swirling, or combing, to enhance the aesthetics of the plasterwork.
- Allow the plaster to fully cure and dry according to the manufacturer’s recommendations before painting or applying any further finishes.
Cleaning Up
- Clean tools and equipment promptly with water before the plaster sets to avoid buildup and make cleanup easier.
- Dispose of any leftover plaster material and waste according to local regulations.
By following these steps and paying attention to detail, plasterers can achieve high-quality plasterwork that is durable, aesthetically pleasing, and long-lasting.
Conclusion
Plastering is a laborious procedure consisting of multiple steps, each requiring specialisation, careful attention to detail, and a commitment to following industry standards. To achieve high-quality plasterwork that is not only long-lasting but also visually beautiful, each phase, beginning with surface preparation and ending with finishing touches, plays an important purpose.
Plasterers can create smooth, level surfaces that serve as the ideal canvas for further decorating or finishing by carefully preparing the surface, mixing the plaster in a precise manner, and applying it with precision.
Finishing touches, which include sanding, polishing, or the application of decorative textures, are what give the plasterwork its final flourish. These finishing touches enhance the plasterwork’s visual appeal and ensure that the client is satisfied.
It takes time and effort to become an expert in the skill of plastering, regardless of whether you are a seasoned professional or a do-it-yourself enthusiast. You may obtain exceptional outcomes that will last the test of time if you have a thorough understanding of the procedure and if you follow the stages that have been given above.
Putting up plaster is not merely a profession; rather, it is an art form that has been handed down from generation to generation. Anyone may learn to master the art of plastering and create beautiful, long-lasting surfaces that enrich any place if they are dedicated and committed to perfection. Plastering is a skill that can be learned by anyone.